高性能SDK套件 - C接口
使用文件
本页说明原生 C 接口:
- 头文件:
C:\dlcv\Lib\site-packages\dlcvpro_infer\include\dlcv_infer\dlcv_infer.h - 运行时 DLL:Sentinel 授权使用
dlcv_infer.dll,Virbox 授权使用dlcv_infer_v.dll
OpenIVS 源码另提供 dlcv_infer_cpp/dlcv_infer_c_api.h,配合该项目构建生成的 dlcv_infer_cpp.dll 使用,属于 C/C++ 封装层的 C 接口。该接口的主要函数名以 dlcv_infer_cpp_* 开头,不能与本页的原生 C 接口混用。
接口概览
- JSON 接口返回由 DLL 分配的
const char*。 dlcv_infer的结果使用dlcv_free_model_result释放,其他 JSON 字符串结果使用dlcv_free_result释放。- 结构体接口
dlcv_infer_c返回DlcvCResult,结果使用dlcv_free_model_result_c释放。
公开头文件中的相关声明如下:
#include "dlcv_infer/dlcv_infer.h"

// JSON 接口
DLL_FUNC(const char*) dlcv_load_model(const char* config_str);
DLL_FUNC(const char*) dlcv_free_model(const char* config_str);
DLL_FUNC(const char*) dlcv_get_model_info(const char* config_str);
DLL_FUNC(const char*) dlcv_infer(const char* config_str);
DLL_FUNC(void) dlcv_free_model_result(const char* config_str);
DLL_FUNC(void) dlcv_free_result(const char* config_str);
DLL_FUNC(void) dlcv_free_all_models();

// 结构体接口
DLL_FUNC(int) dlcv_load_model_c(const char* model_path, int device_id);
DLL_FUNC(int) dlcv_free_model_c(int model_index);
DLL_FUNC(DlcvCResult) dlcv_infer_c(
    int model_index,
    const DlcvCImageList* image_list);
DLL_FUNC(void) dlcv_free_model_result_c(DlcvCResult* result);

// 设备相关接口
DLL_FUNC(const char*) dlcv_get_device_info();
DLL_FUNC(const char*) dlcv_get_gpu_info();
这些接口按 C ABI 导出。示例为了方便构造 JSON 和读取图片,会使用 C++ 的 nlohmann::json 与 OpenCV;纯 C 程序可以使用其他 JSON 库生成相同的字符串,并传入图像 buffer 的指针地址。
JSON 推理结果使用 dlcv_free_model_result,其他 JSON 字符串结果使用 dlcv_free_result,结构体推理结果使用 dlcv_free_model_result_c。结构体结果中的字符串、结果数组和 mask 数据由 DLL 管理,释放后不可继续访问。
加载模型
代码样例:
传入 DLL 的 JSON 字符串必须是 UTF-8 编码。示例可直接使用 std::wstring 作为 json 的字段值(需包含并链接 dlcv_utils_json.h 与 dlcv_utils_string.h),内部会把 wstring 转为 UTF-8 后再序列化。
std::wstring model_path = LR"(C:\models\det.dvt)";
int device_id = 0;

json a;
a["model_path"] = model_path;
a["device_id"] = device_id;
std::string json_str = a.dump();

const char* result = dlcv_load_model(json_str.c_str());

json result_a = json::parse(result);
dlcv_free_result(result);

int model_index = result_a["model_index"];
输入:
{
    "model_path": "C:\\Users\\Administrator\\Desktop\\测试模型\\det.dvt",
    "device_id": 0
}
输出:
{
    "code": 0,
    "message": "Successfully loaded model.",
    "model_index": 0
}
模型推理
彩色图像的通道顺序是 RGB。
样例代码:
cv::Mat img = cv::imread(R"(C:\images\balloon.jpg)");
cv::Mat img_rgb;
cv::cvtColor(img, img_rgb, cv::COLOR_BGR2RGB);


json image_info;
image_info["width"] = img_rgb.cols;
image_info["height"] = img_rgb.rows;
image_info["channels"] = img_rgb.channels();
image_info["image_ptr"] = (uintptr_t)img_rgb.ptr();

json d;
d["model_index"] = model_index;
d["image_list"].push_back(image_info);

auto json_str = d.dump();
const char* result = dlcv_infer(json_str.c_str());
json result_d = json::parse(result);
dlcv_free_model_result(result);
model_index 是加载模型时返回的结果。
img 在调用过程中,不要释放内存。
C 接口需要手动调用 dlcv_free_model_result 释放结果。
输入:
{
    "image_list": [
        {
            "channels": 3,
            "height": 768,
            "image_ptr": 1978309283968,
            "width": 1024
        }
    ],
    "model_index": 0
}
输出:
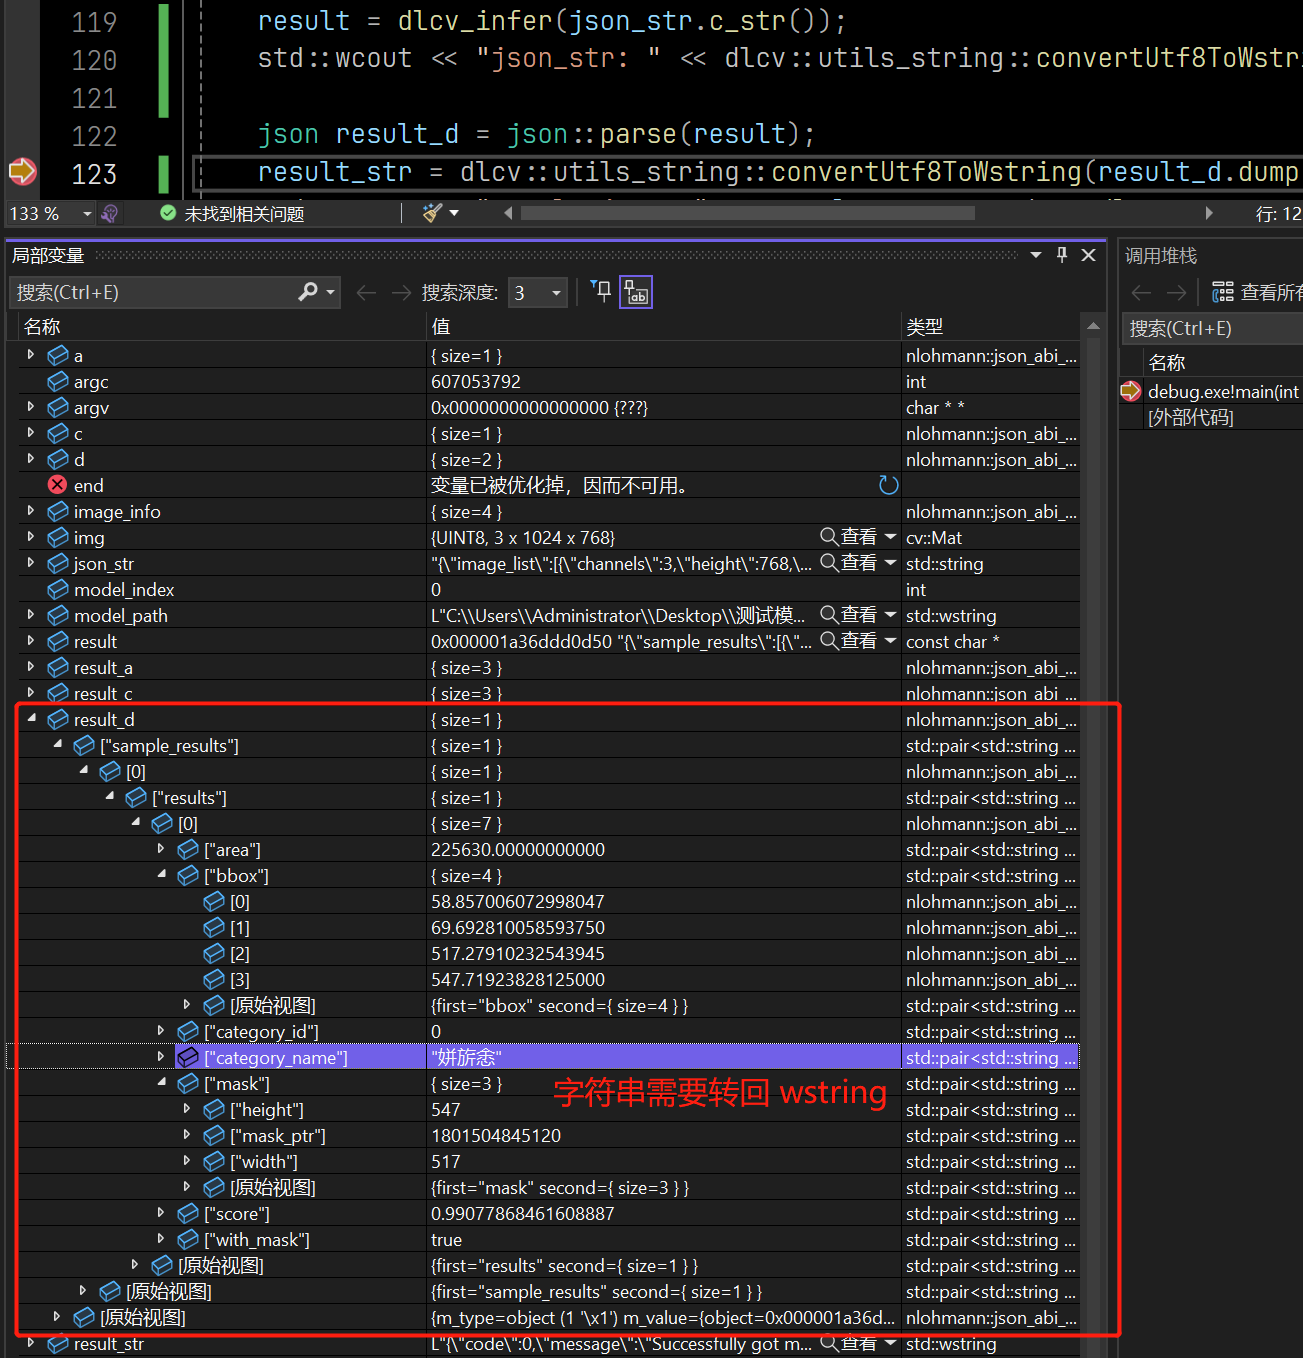
{
    "sample_results": [
        {
            "results": [
                {
                    "area": 225630.0,
                    "bbox": [
                        58.85700607299805,
                        69.69281005859375,
                        517.2791023254395,
                        547.71923828125
                    ],
                    "category_id": 0,
                    "category_name": "气球",
                    "mask": {
                        "height": 547,
                        "mask_ptr": 1737551411232,
                        "width": 517
                    },
                    "score": 0.9907786846160889,
                    "with_mask": true
                }
            ]
        }
    ]
}
返回结果解析
- sample_results,列表,每个元素是一张图片的结果。
- results,列表,每个元素是一张图片中的物体。
- area,浮点数,物体的面积。
- with_bbox(可选),布尔值,是否有检测框
- bbox,列表,浮点数,物体的检测框:
- 常见为
[x, y, w, h](左上角 + 宽高) - 旋转框可能为
[cx, cy, w, h, angle](中心点 + 宽高 + 角度,弧度制)
- 常见为
- category_id,整数,物体的类别 ID。
- category_name,字符串,物体的类别名称。
- score,浮点数,物体的置信度。
- with_mask,布尔值,是否有 mask。
- with_angle(可选),布尔值,是否有角度信息
- angle(可选),浮点数,物体的角度(弧度制,非旋转框一般为 -100)
- with_mean(可选),布尔值,是否包含前景与背景均值
- foreground_mean / background_mean(可选),浮点数,mask 前景区域与背景区域的像素均值
- mask,对象,物体的 mask。
- height,整数,mask 的高度。
- mask_ptr,指针,mask 的指针。
- width,整数,mask 的宽度。
Mask 解析
Mask 可以使用 OpenCV 直接实例化,如:
auto mask = cv::Mat(height, width, CV_8UC1, (void*)ptr).clone();
释放模型
使用 dlcv_free_model 接口释放模型。
model_index 是加载模型时返回的结果。
json b;
b["model_index"] = model_index;
json_str = b.dump();

result = dlcv_free_model(json_str.c_str());
json result_b = json::parse(result);
result_str = dlcv::utils_string::convertUtf8ToWstring(result_b.dump());
std::wcout << "result_json: " << result_str << std::endl;
dlcv_free_result(result);
输出:
{
    "code": 0,
    "message": "Successfully freed model."
}
释放所有模型
在整个程序退出之前,需要释放所有模型,可以手动释放,也可以直接调用 dlcv_free_all_models 接口。该接口无返回值。
dlcv_free_all_models();
结构体接口
结构体类型以 dlcv_infer/dlcv_data_type_c.h 中的 typedef 为准;dlcv_infer.h 已包含该文件。
typedef struct DlcvCImage {
    long long data_ptr;
    int height;
    int width;
    int channel;
} DlcvCImage;

typedef struct DlcvCImageList {
    DlcvCImage* images;
    int n;
} DlcvCImageList;

typedef struct DlcvCMask {
    long long mask_ptr;
    int height;
    int width;
} DlcvCMask;

typedef struct DlcvCObjectResult {
    int category_id;
    char* category_name;
    float score;

    bool with_bbox;
    float area;
    float x, y, w, h;

    bool with_mask;
    DlcvCMask mask;

    bool with_angle;
    float angle;

    bool with_mean;
    double foreground_mean;
    double background_mean;
} DlcvCObjectResult;

typedef struct DlcvCSampleResult {
    DlcvCObjectResult* results;
    int n;
} DlcvCSampleResult;

typedef struct DlcvCResult {
    int code;
    char* message;
    DlcvCSampleResult* sample_results;
    int n;
} DlcvCResult;
DlcvCImage 包含图像数据地址、宽度、高度和通道数。彩色图像通道顺序是 RGB。
DlcvCImageList 包含 DlcvCImage 数组和数量。调用 dlcv_infer_c 时传入该结构体的地址。
DlcvCMask 包含 mask 数据地址、宽度和高度。
DlcvCObjectResult 的主要字段如下:
category_id、category_name、score:类别编号、类别名称和置信度。with_bbox、x、y、w、h:是否包含检测框,以及检测框左上角坐标和宽高。area:物体面积。with_mask、mask:是否包含 mask,以及 mask 数据。with_angle、angle:是否包含角度及弧度值。with_mean、foreground_mean、background_mean:是否包含均值,以及 mask 前景区域和背景区域的像素均值。
DlcvCSampleResult 包含一张图片的结果数组和数量。
DlcvCResult 包含返回码、消息、图片结果数组和数量。返回码为 0 表示成功,非 0 表示失败。结果读取完成后调用 dlcv_free_model_result_c(&result);该函数不会释放输入图像内存。
结果示例
内存管理
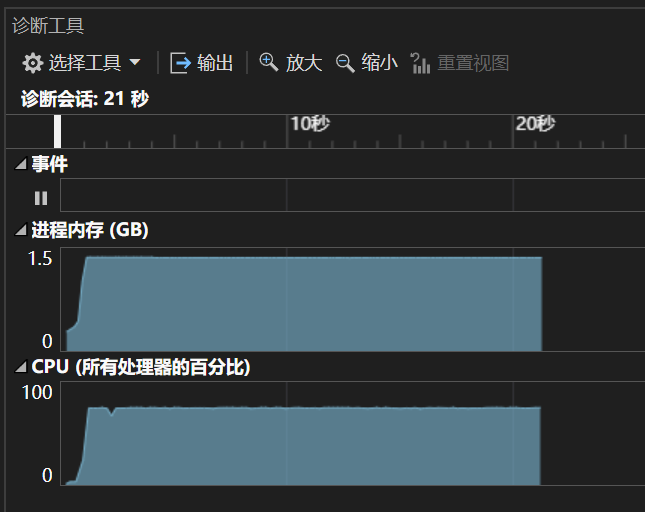
压力测试模型创建:
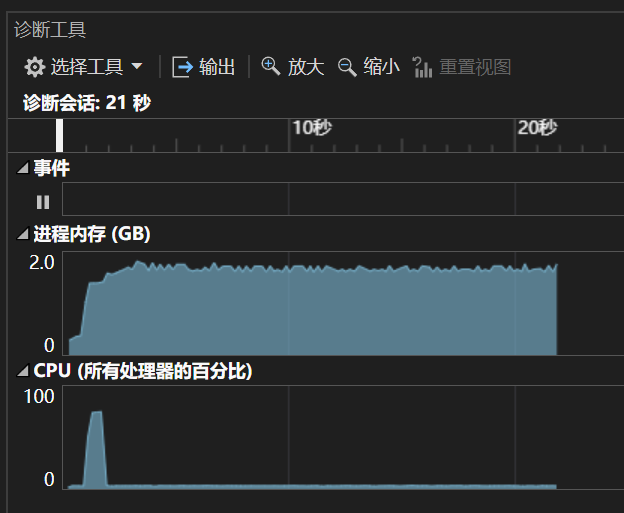
压力测试推理: